Windows7でJekyll+GitHub Pages
船便でアメリカから送ったため,2ヶ月ほどLinuxが使えなくなった.そこで,手元のWindowsノートPC(Windows 7 Professional, Service Pack 1, 64 bit)にJekyll+GitHub Pages環境を構築した.
2018/02/11追記:このあと,本サイトのJekyll themeをEasyBookからCentrariumに変更した.詳細はJekyll themeをCentrariumに変更する - Memotaroを参照されたい.
環境
- Windows 7 Professional, Serice Pack 1, 64 bit
- PowerShell 5.0.10586.117
- ATOM 1.21.1
参考
- OPC Diary,私家版Git For Windowsのインストール手順:WindowsにおけるGit環境構築.
- Git for Windows:Windows用Git環境.
- posh-git:PowerShellでgitコマンド補完を可能にするツール.
- KaoriYa,Windowsでjekyll 3.0(github-pages)を使う:WindowsにおけるJekyll環境構築方法.
- RubyInstaller:RubyおよびDevKitのインストール.
Qiita,bundle execとかdb:createとかが何をしているのか:
bundle execの使い方について. - ATOM:GitHubが開発したテキストエディタ.
- ATOM,Line ending converter:ATOMの改行コードを一括変換するパッケージ.
- Qiita,Atomエディタ上からファイルを新規作成する際のデフォルトの改行コードを設定する(Windows環境):ATOMのデフォルト改行コード設定方法.
手順
1. Gitのインストール
OPC Diary,私家版Git For Windowsのインストール手順を参考にした.
- Git for Windowsをダウンロード.
- インストーラを起動し,基本的にデフォルト設定を選択.ただし,改行設定(
Configuring the line ending conversions)では,上記サイトのおすすめに従い,Checkout as-is, commit as-isを選択.
2. Gitのグローバル設定
Git bashを起動し,上記サイトを参考にグローバル設定した.
$ git config --global user.name "haltaro"
$ git config --global user.email "***@gmail.com"
$ git config --global core.quotepath false
3. GitのSSHキー作成
引き続き上記サイトを参考に,SSHキーを作成した.
- スタートメニューから
Git GUIを起動. Help > Show SSH Keyを選択.Generate Keyをクリックし,適当にpassphraseを入力.- 公開鍵をコピーして,
GitHubのアカウントに登録.
4. posh-gitのインストール
posh-gitを使うと,PowerShellでgitコマンド補完してくれて便利なので,インストールした. OPC Diary,私家版Git For Windowsのインストール手順のPsGetを使った方法だと上手くいかなかったので,公式GitHubから直接クローンした.以下はその詳細である.
まずは,PowerShellで以下のコマンドを打ち,公式GitHubからクローンする.ディレクトリはどこでも良い.
> git clone git@github.com:dahlbyk/posh-git.git
PowerShellのセキュリティ設定を変更した.
> Set-ExecutionPolicy RemoteSigned -Scope CurrentUser -Confirm
上記ディレクトリに移動して,install.ps1を実行した.
> .\install.ps1
5. Rubyのインストール
RubyInstallerから2017年10月15日現在の最新版であるRuby 2.4.2-2(x64)をダウンロードした.
6. DevKitのインストール
Rubyのパッケージ管理システムRubyGemsのインストールに必要なDevKitをインストールした.以下はその詳細である.
まず,RubyInstallerから,DevKit-mingw64-64-4.7.2-20130224-1432-sfx.exeeをダウンロードした.以下ではC:\DevKitに解凍したと想定する.
次に,PowerShellから以下のコマンドを実行した.
> cd C:\DevKit
> ruby dk.rb init
> ruby dk.rb install
7. 関連パッケージのインストール
RubyGemsを使い,github-pagesとwdmをインストールした.
> gem install github-pages wdm
> jekyll serveしたらと,次のようなエラーが出た.
WARN: Unresolved specs during Gem::Specification.reset:
      rouge (< 3, >= 1.7)
WARN: Clearing out unresolved specs.
Please report a bug if this causes problems.
C:/Ruby24-x64/lib/ruby/gems/2.4.0/gems/bundler-1.16.0.pre.3/lib/bundler/runtime.rb:315:in `check_for_activated_spec!': Y
ou have already activated public_suffix 3.0.0, but your Gemfile requires public_suffix 2.0.5. Prepending `bundle exec` t
o your command may solve this. (Gem::LoadError)
        from C:/Ruby24-x64/lib/ruby/gems/2.4.0/gems/bundler-1.16.0.pre.3/lib/bundler/runtime.rb:33:in `block in setup'
        from C:/Ruby24-x64/lib/ruby/2.4.0/forwardable.rb:229:in `each'
        from C:/Ruby24-x64/lib/ruby/2.4.0/forwardable.rb:229:in `each'
        from C:/Ruby24-x64/lib/ruby/gems/2.4.0/gems/bundler-1.16.0.pre.3/lib/bundler/runtime.rb:28:in `map'
        from C:/Ruby24-x64/lib/ruby/gems/2.4.0/gems/bundler-1.16.0.pre.3/lib/bundler/runtime.rb:28:in `setup'
        from C:/Ruby24-x64/lib/ruby/gems/2.4.0/gems/bundler-1.16.0.pre.3/lib/bundler.rb:107:in `setup'
        from C:/Ruby24-x64/lib/ruby/gems/2.4.0/gems/jekyll-3.6.2/lib/jekyll/plugin_manager.rb:50:in `require_from_bundle
r'
        from C:/Ruby24-x64/lib/ruby/gems/2.4.0/gems/jekyll-3.6.2/exe/jekyll:11:in `<top (required)>'
        from C:/Ruby24-x64/bin/jekyll:23:in `load'
        from C:/Ruby24-x64/bin/jekyll:23:in `<main>'
指示通り,> bundle exec jekyll serveとコマンドを打ったらうまく行った.Qiita,bundle execとかdb:createとかが何をしているのかによると,bundle execを頭につけると,当該プロジェクトのGemfileで指定された環境でコマンドを実行するらしい.
8. ATOMのインストール
マークダウンエディタが欲しかったので,ATOMをインストールした.公式ページからインストーラをダウンロードすれば簡単にできた.しかし…
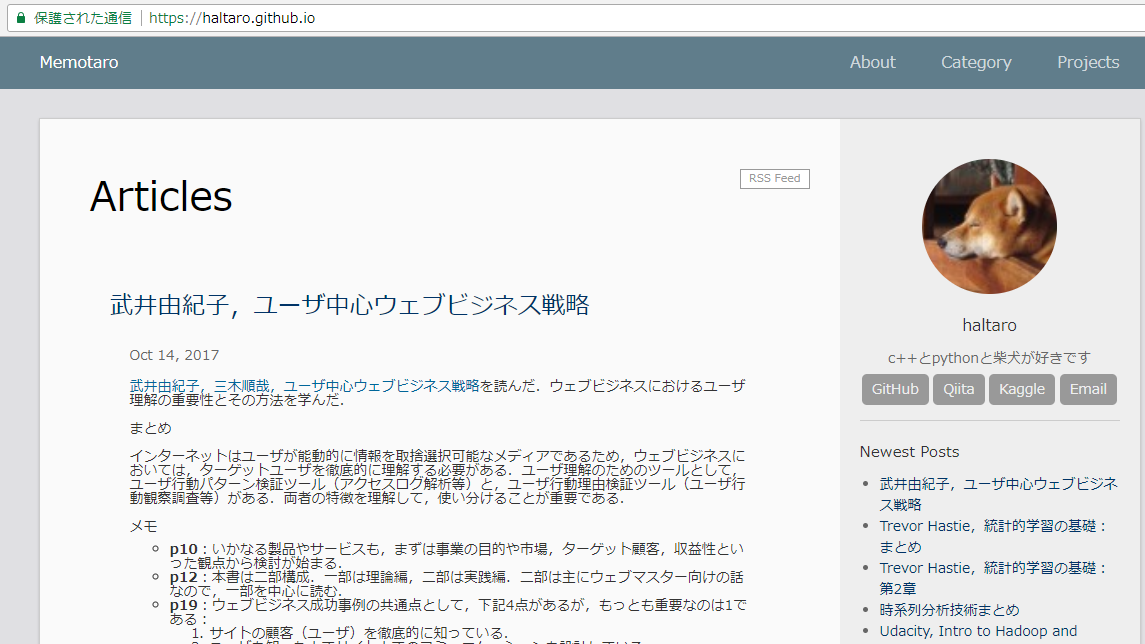
サマリ部分に全文表示されてしまう問題が発生した.これはUnixの改行コード(LF)とWindowsの改行コード(CRLF)が混在していることが原因らしい.
9. line-ending-converterで改行コードを一括変換
ATOMの設定画面から,line-ending-converterをインストール.Packages>Convert Line Endings Toで,Unix Formatを選択すると,現在選択中のファイルの改行コードが一括変換される.
詳細はこちら.
10. line-ending-selectorで改行コード設定
Qiita,Atomエディタ上からファイルを新規作成する際のデフォルトの改行コードを設定する(Windows環境)を参考に,デフォルト設定を変更.
- ATOMの設定画面から
line-ending-selectorを検索. line-ending-selectorのSettingボタンを押下.Default line endingから,LFを選択.
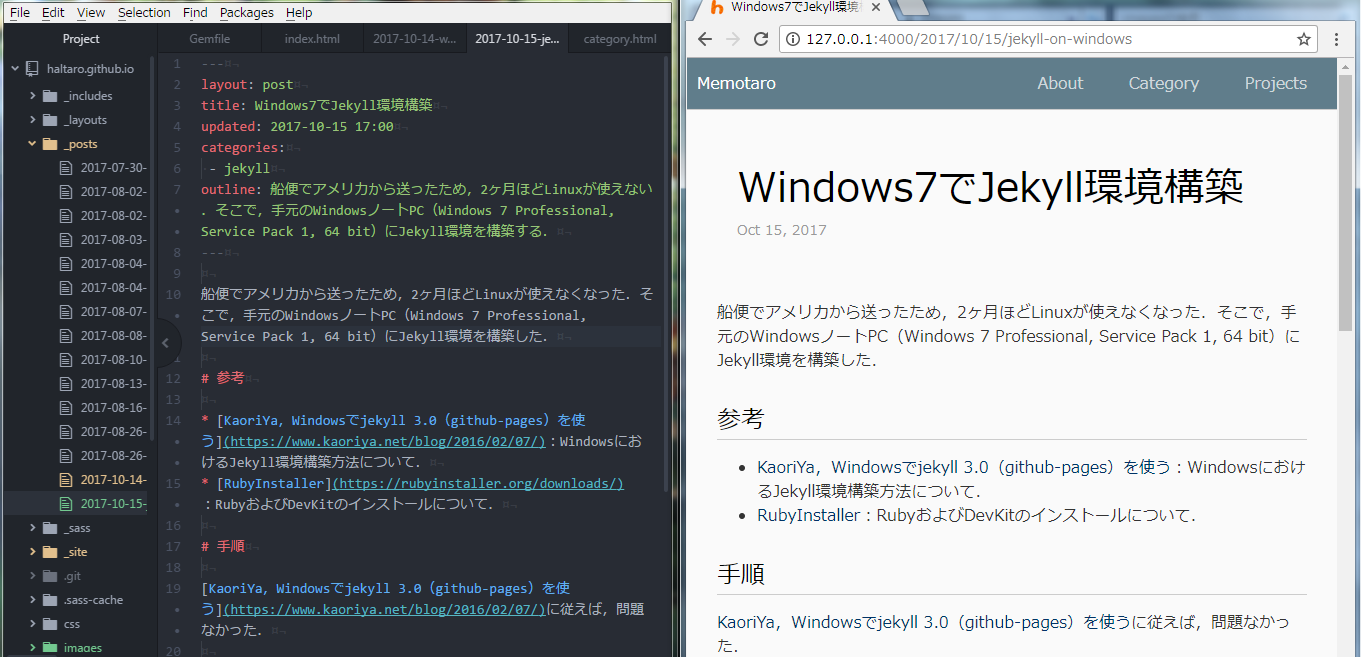
11. まとめ
下図のような環境が完成した.
PowerShellで> bundle exec jekyll serveして,ブラウザでhttp://127.0.0.1:4000から出来栄えを確認しながら,ATOMでマークダウンを編集できる.
感想
ATOMは本当に便利.Linuxが届いたらインストールしようと思う.
Subscribe via RSS